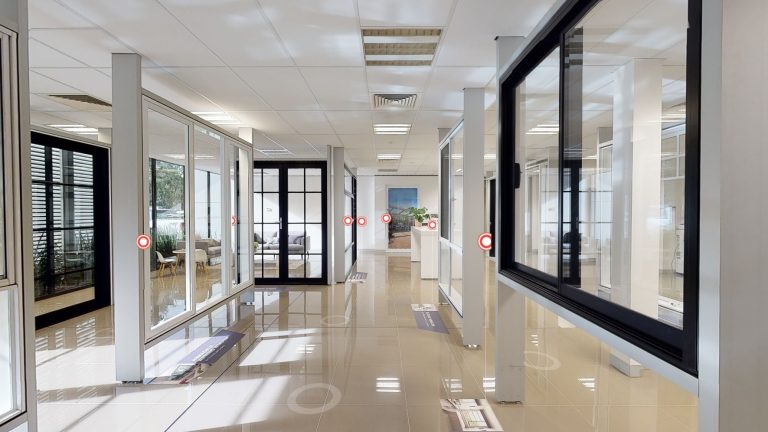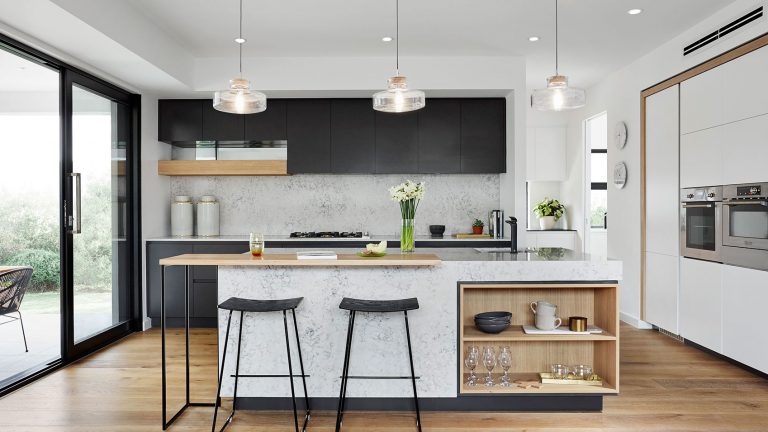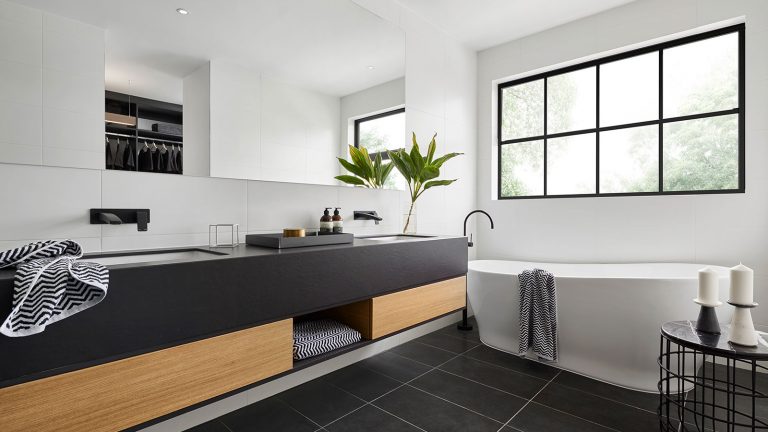
Gallery
How to series

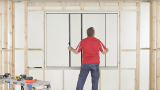
Correct installation of all windows, doors and fly screens is critical to ensure they operate as they should, without any headaches, for many years to come.
Installing your fly screen is a simple process; follow this step by step guide to ensure correct installation.
Before you begin installing a fly screen to a sliding window, make sure you’re wearing the right safety gear for the site you are working on and the tools you are using.

Standing on the inside of the house, you will first need to remove the internal sash. Make sure the security block in the head of the frame is out of the way.
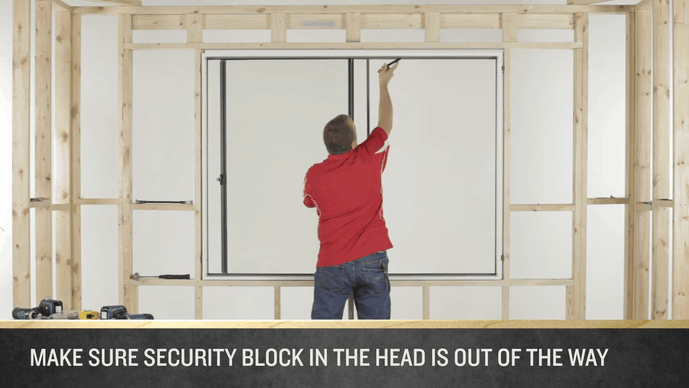
Then, hold the sash on both sides and lift it up into the head before tilting the bottom out towards you until the whole sash can be removed. Place the sash somewhere safe.

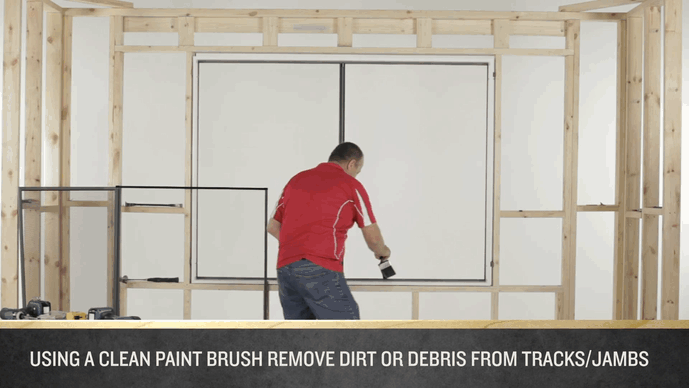
With your clean dry paint brush, remove any built-up dirt or debris in the sill tracks and jams.
Place the fly screen blocks into the outer track roughly 50 millimeters away from either side.
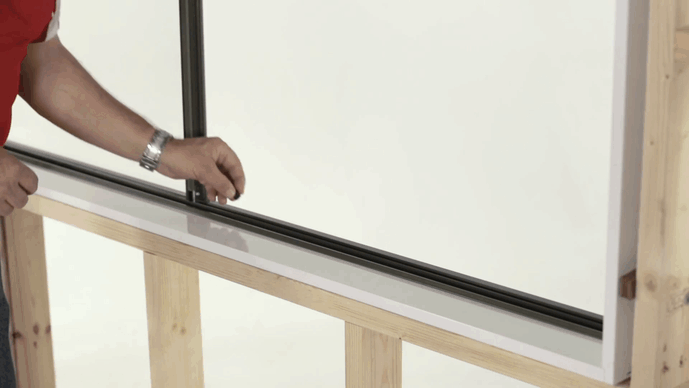
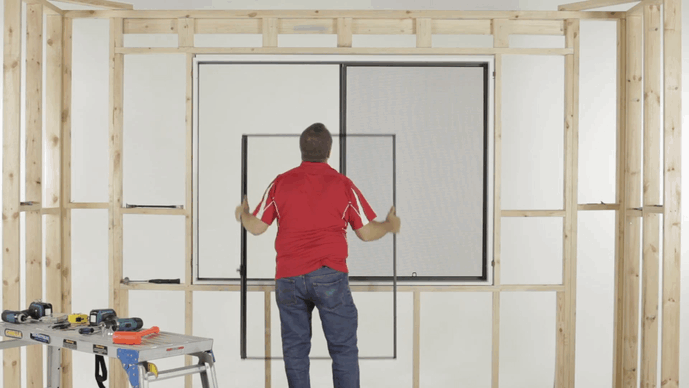
Lift the screen up and lower it into the outer track on top of the fly screen blocks.
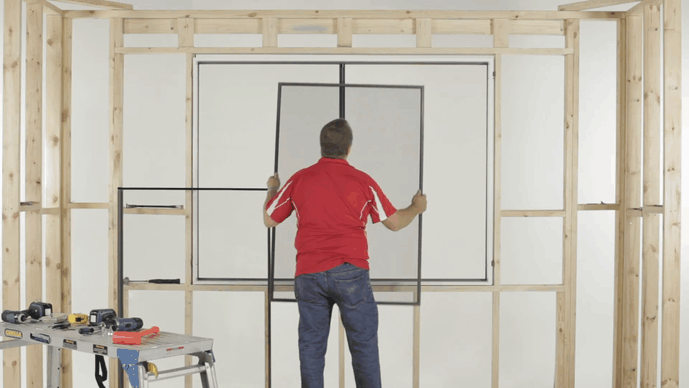
Hold the screen on a slight angle towards the top corner of the opening side of the window. Guide the leading side of the screen into the jamb.
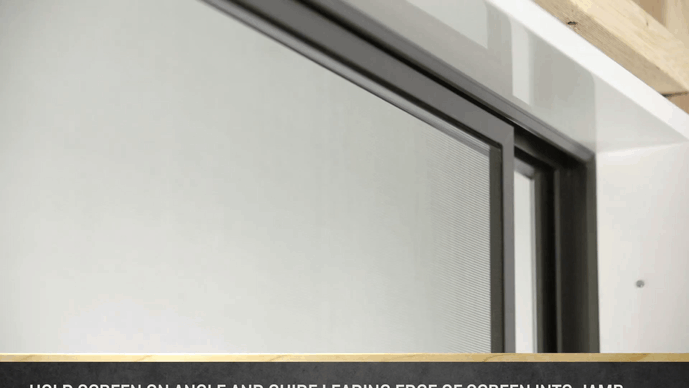
Gently push the opposing top corner up into their head and finally snap the leading top corner up into the head.
Finally, refit the internal sash back into the window. Avoiding the security block, lift the sash up into the head and then lower it down onto the bottom track. Slide the sash closed.
Want to learn more about A&L’s range of windows and doors? From sliding windows and sashless solutions, to louvres and awnings, our family of products are designed for maximum durability, and to suit every style – from traditional to contemporary.